


Required Equipment and Installation Advice for Throwing Circles
Within this datasheet, we outline the essential fixed athletics equipment required for Shot, Hammer and Discus events and offer installation advice for our range of athletics throwing circles.
The type and number of circles required however depends on the events being catered for and the configuration and type of throws protection cages present.
 Required Equipment
Shot
This event uses a Hammer/Shot Circle (AT401) measuring 2.135m in diameter and also requires a Shot Stop Board (AT402), which is sold separately. The shot stop board is constructed from painted timber and is radiused and recessed to fit flush up to the inner face of the circle. The board is supplied with pins which are knocked into the underside to enable it to be bedded into concrete.
Hammer
A Hammer/Shot Circle (AT401) which is 2.135m diameter is required for this event. No stop board is used for Hammer, however a protection cage is essential for Hammer events. This Hammer Circle would usually be installed with a Discus Circle in a suitable Double Hammer Discus Protection Cage.
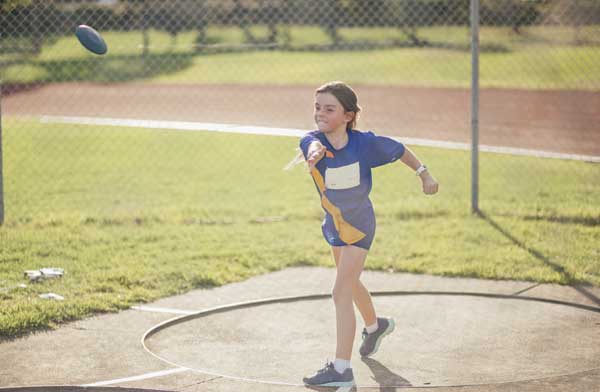
Discus
A 2.5m diameter Discus Circle (AT403) is used for this event. As with Hammer, no stop board is required for Discus, but a protection cage is essential for competition standard events. This can be either a Single Discus Protection Cage, or in conjunction with a Hammer Circle in a Double Hammer Discus Protection Cage
If the Discus Circle (AT403) is installed in a suitable Single Hammer Discus Cage with gates, it is possible to convert the 2.5m diameter Discus Circle down to a 2.135m Hammer Circle by the use of concentric insert boards. These are offered in 2 types, Wooden Concentric Inserts (AT404), or Aluminium Concentric Inserts (AT405).
At schools, Discus can and is taught, without a protection cage. However, great care needs to be taken to ensure any bystanders are kept well back from an implement released in the wrong direction. We offer a Practice Discus Cage (AT005) and suitable Netting for the Practice Discus Cage (AT001) to provide an economical way of increasing safety at schools. It is a lightweight, socketed frame and net to help catch any stray discus.
IMPORTANT - PLEASE NOTE: The Practice Discus Cage (AT005) is not regulation size and is for practice only. A site specific risk assessment should be carried out at the installation location to ensure bystanders can remain at a safe distance from the cage in use, and the implement landing sector is orientated away from buildings, roads and footpaths. |
Installation Advice for Throwing Circles
All circles are supplied pre-formed in two halves, and these are bolted together on site to form the circle.
A compacted Type 1 stone base (100mm - 150mm) depending on ground conditions is suggested below the circle to provide some drainage.
The circle should be haunched and bedded level on the stone base, and if being installed into grass with the top of the rim set slightly higher than the surrounding ground level.
5 tubes approximately 20mm diameter (not supplied) should be positioned sitting on the stone base and set 20mm lower than the top of the circle rim, equally spaced, and close up to the inside of the circle rim. These will act as drainage tubes through to the stone base to help prevent the circle filling with water.
1 tube approximately 4mm diameter (not supplied) should be positioned in the exact centre of the circle so that a pin for the end of a measuring tape can be inserted for marking the sectors and measuring throws.
The centre of the circle should be cast in concrete and have a smooth floated finish. For harder wear and more grip, a granolithic screed can be applied as a final finish. Care should be taken to keep the drain and marker tubes clear of concrete. The finish of the concrete/screed should be 20mm± 6mm below the top of the circle rim.
A concrete "mowing strip" can be installed around the perimeter of the circle with a slight back slope to direct water away from the circle.
If the finished surface is found to be too smooth and a granolithic screed has been used, this can be carefully acid etched to expose more of the aggregate and increase the grip.
|
< Return to Athletics Downloads & Resources
|
|
|